A gingerbread-house party is part craft table, part snack station, and part take-home logistics. It runs more smoothly when guests know whether they are assembling a house or decorating a ready-to-go base, when the candy is portioned before the doorbell rings, and where finished houses can sit without being bumped. This plan keeps the fun hands-on while giving the host a realistic way to manage mess, timing, and the trip home.
QUICK REFERENCE
Four zones that keep the build moving
| Zone | What goes there | Keep it clear of |
|---|---|---|
| Build | Stable bases and icing | Drinks and coats |
| Decorate | Shared labeled candy bowls | Finished houses |
| Set and photograph | Rigid trays and sample display | Active decorating |
| Pack | Shallow carriers and repair icing | The room's main walkway |
Pick one party format and say it plainly
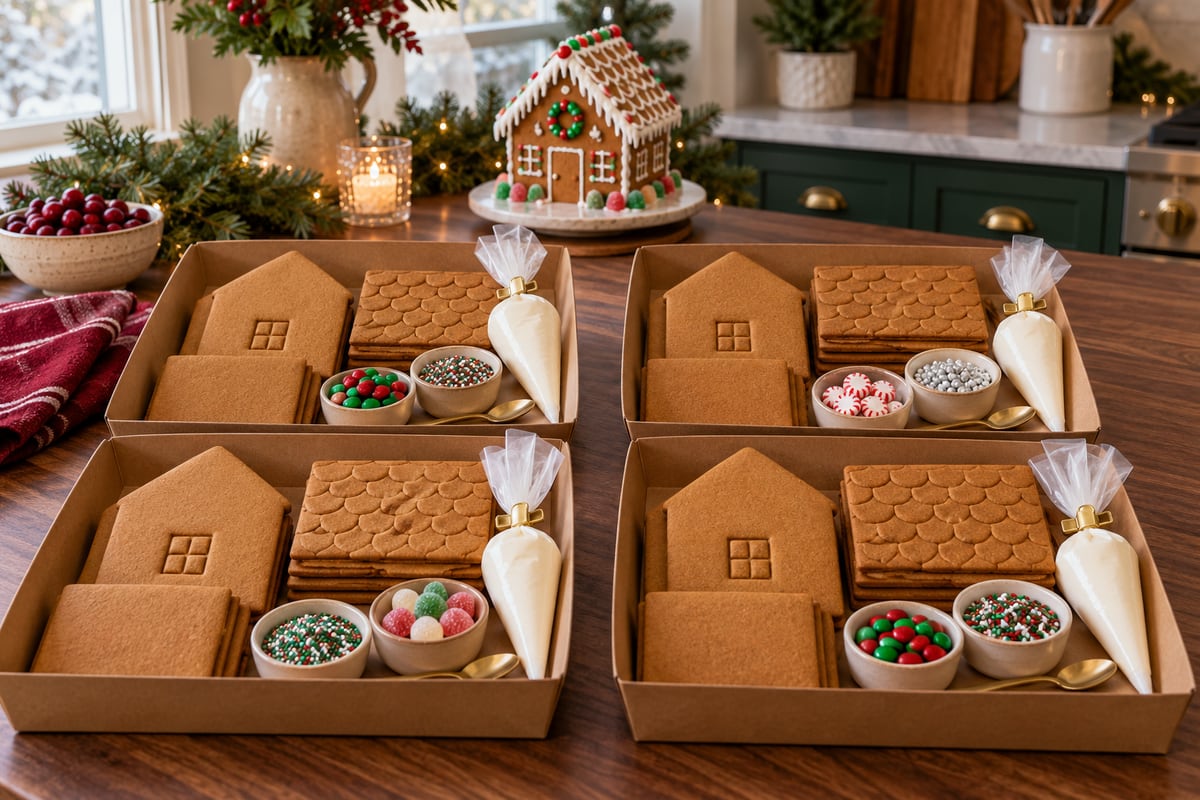
Decide whether guests will assemble walls and a roof or decorate houses whose structure is already stable. Full construction can be rewarding, but it takes more time and creates a longer wait for pieces to hold. For a short family gathering or younger builders, have the bases ready and make the party about decorating. For older children or adults who want the building challenge, use the kit or tested recipe instructions and allow an unhurried setting period before the decorating round.
Choose a team size that fits the table. One house per pair is often easier to supervise than a separate structure for every person. Tell guests whether the house is intended to be eaten or displayed; some kits and decorations are not food. If guests bring a kit, ask them to confirm its contents before the party.
Count houses and supplies from the RSVP list
Count decorating teams first, then prepare one base and one icing supply per team. Shared candy bowls can serve the whole table if the room is large enough, but small groups or younger helpers often work better with a few individual portions. Include a plain cookie or spare roof piece for practice, parchment or a washable table cover, spoons, napkins, and a tray that can carry each finished house. Keep a modest reserve for breakage rather than buying a second full kit for every participant.
Send the invitation with the party duration, the age range, whether adults stay, what the host provides, and whether guests should bring a kit or candy. Ask about food allergies before you choose decorations, icing, and refreshments. A sign-up list prevents five people bringing the same candy and gives you time to find out whether a guest needs a different arrangement. Make it easy for someone to attend without bringing extra supplies.
Build four simple zones instead of one crowded table
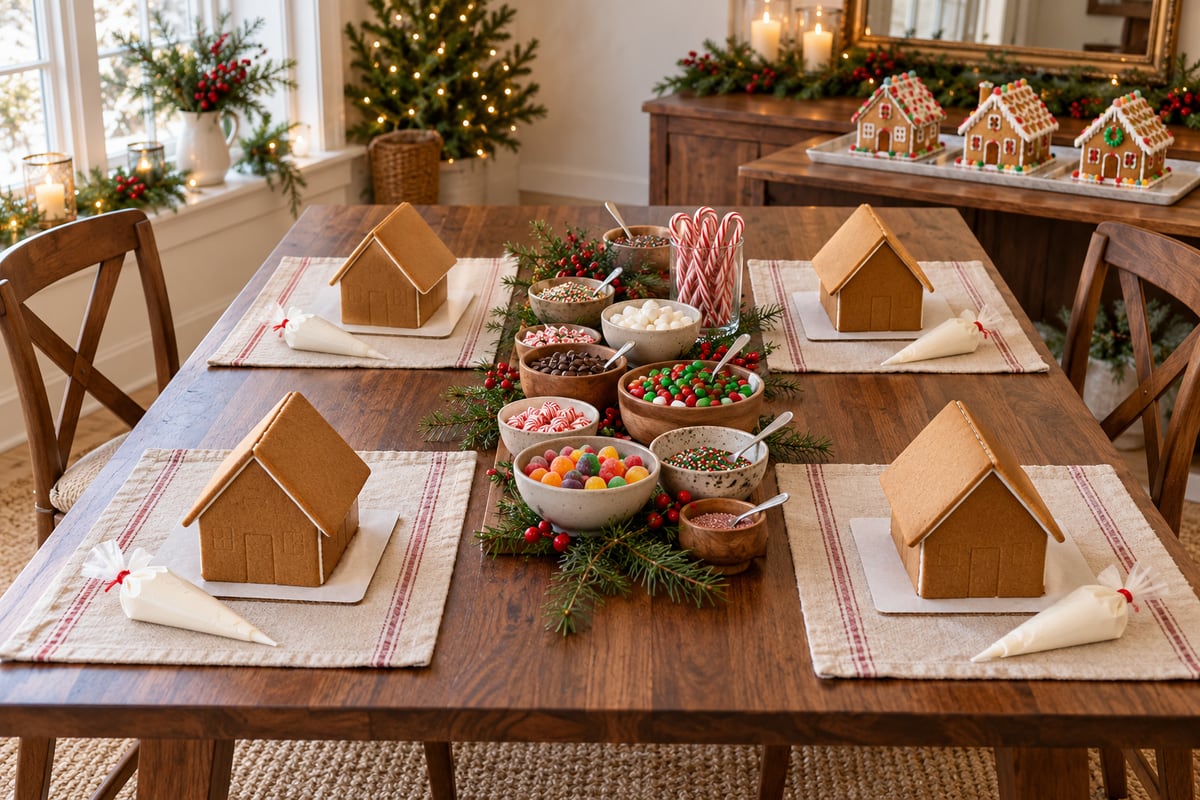
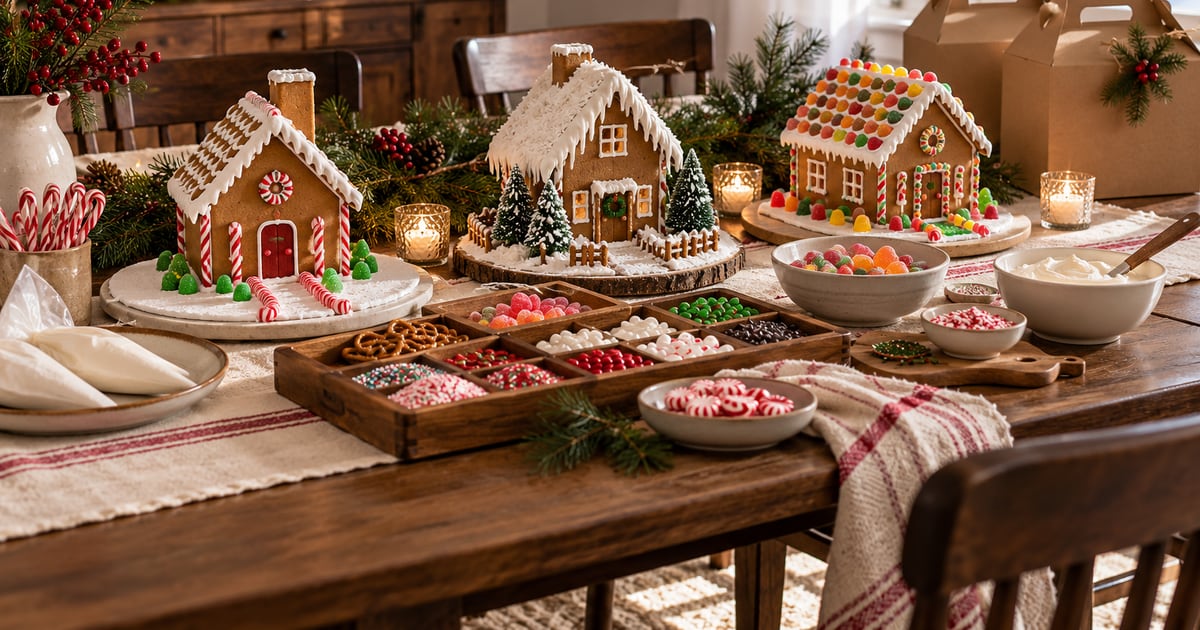
Give each builder a protected work spot with a stable base, napkin or parchment, and enough room to turn the house. Put shared candy in the middle or on a nearby side table so guests can reach it without leaning over someone else's structure. Keep extra icing and unopened candy behind the host area for refills. A separate finished-house surface is important: it prevents a completed roof from sharing space with open bowls, elbows, and cleanup.
Keep the entry, drinks, and food separate from the decorating supplies. Guests looking for water should not cross the candy line, and a coat pile should not sit beside finished houses waiting to go home. For a small home, use one table for builders and a counter or sturdy shelf for drying and photos. Leave a clear walking route so an adult can help a child without knocking over the next person's roof.
Use a short decorating sequence with a clear finish
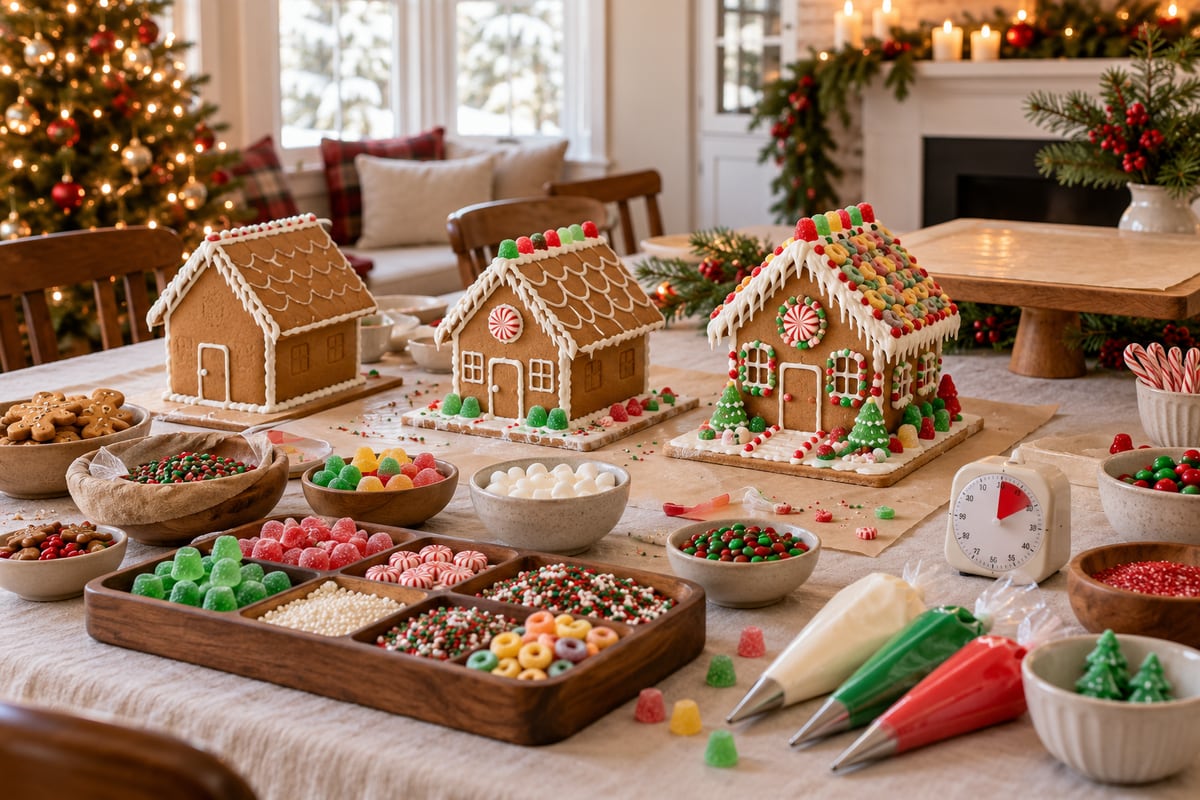
Open with a brief explanation of the goal and show one sample house, but avoid demonstrating so elaborately that guests feel they must copy it. Let teams decide on a simple theme, then work from large pieces to small accents: roof, doorway, path, and final details. Offer a few optional prompts—winter cabin, candy shop, or neighborhood house—so a guest who does not know where to start can choose one and begin.
A two-hour sample event might use 15 minutes for arrivals and hand washing, 10 minutes for instructions, 45 minutes for building or decorating, 15 minutes for a snack break while structures set according to their kit directions, 20 minutes for final details and a photo, and 15 minutes to pack up. Treat that as a movable outline, not a promise that icing sets on a clock. If a base needs more time, keep a low-mess game or conversation ready and let the build take the time the instructions require.
Make the candy and snack setup allergy-aware
Ask about allergies before buying candy, icing, cookies, or drinks, and keep package labels available for guests to read. FDA identifies nine major food allergens in the United States, including milk, egg, wheat, peanuts, tree nuts, soy, sesame, fish, and crustacean shellfish. Ingredients and manufacturing statements can vary by product, so do not rely on a candy's color or appearance to decide what it contains.
Shared bowls and tools can transfer ingredients, so do not describe a shared table as allergen-free. When a guest needs a separate setup, discuss it with them and their caregiver before the event and use unopened, verified products and clean tools only if that arrangement is genuinely workable. Keep ingredient cards and original packages nearby. CDC also warns against tasting raw dough made with uncooked flour or eggs; use baked pieces and ready-to-eat decorations, and wash hands and surfaces after handling raw ingredients.
Reverse timeline: one week to party day
One week before, confirm the head count, teams, dietary questions, kit format, and house total. Read the kit or recipe instructions and build a sample if you are unsure how long assembly takes. Choose the finished-house landing area and the take-home container size before the roofs are decorated.
The day before, portion nonperishable decorations, check icing and kit components, and protect the building table. On party day, set stations, keep drinks away from the candy, and place a clean tray by the finished-house area. For perishable refreshments, follow package or recipe directions and FoodSafety.gov's limit: no more than two hours at room temperature, or one hour above 90°F.
A party-day checklist and a safer ride home
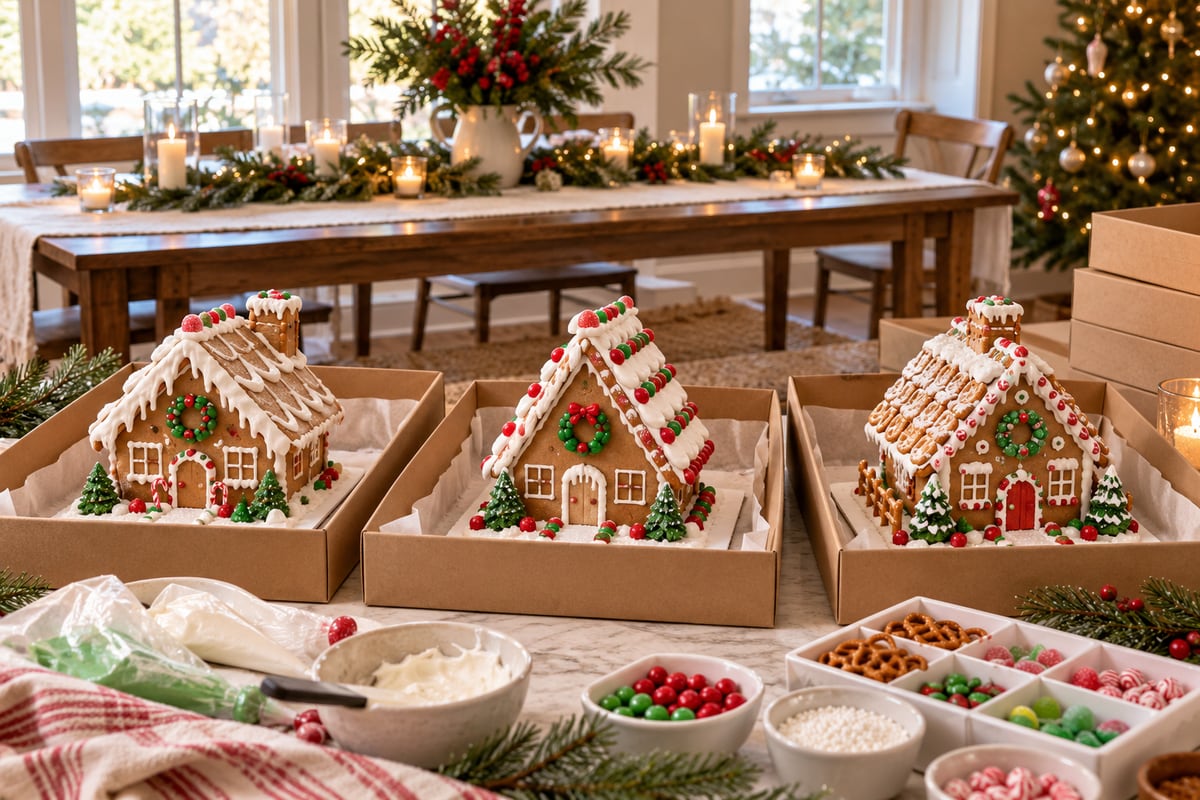
Before guests arrive, check that each team has a stable base, decorations are within reach, ingredient information is available, and the drying surface is empty. Choose a simple finish: a photo, playful award categories, or a display row.
Move each finished house on its base to a shallow, rigid carrier with room around it. Follow the kit or icing instructions about setting and storage, and do not stack finished houses. Put the carrier somewhere level in the car and tell the driver that the load is fragile. If a piece breaks, offer extra icing and a small repair kit; a quick fix is less stressful than trying to hold a decorated house in one hand during the drive.
- The invitation states whether houses are built at the party or arrive assembled.
- Each person or team has one counted kit, a stable base, and a place for its finished house.
- Candy, icing, ingredient information, and any allergy-related plan are ready before arrival.
- Drinks and perishable snacks have their own station and serving plan.
- The host has a short activity outline with flexible time for the kit's setting instructions.
- Rigid take-home boxes are open and ready on a level surface before cleanup begins.
SOURCES
Sources & references
These links support factual rules, quantities, safety guidance, or planning context. The final prioritization and sequencing in this guide are editorial decisions. See how sources are chosen.
- Public guidanceCDC — Raw Flour and Doughcdc.gov
- Public guidanceFDA — Food Allergiesfda.gov
- Public guidanceFoodSafety.gov — Food Safety Tips for DIY Wedding Foodfoodsafety.gov
FAQ
Questions people ask before guests arrive
How long should a gingerbread house decorating party last?
A two-hour window is a workable example for arrivals, decorating, a short break, photos, and packing. Adjust it for the kit, guest ages, and whether teams assemble walls at the event. Follow the product or recipe directions instead of promising a fixed icing-set time.
Should guests build the gingerbread houses at the party?
It depends on the group and time available. Decorating preassembled bases keeps a short event moving, while building is a separate activity that needs more time and a stable setting area. Tell guests which format you chose so expectations and materials match.
How many gingerbread houses do I need?
Count teams, not just guests. One house per pair is an easy starting format for a shared table; choose one per person if the group wants individual designs and you have enough space. Include a spare base only if the budget and kit count allow it.
How do I get gingerbread houses home without breaking them?
Move each house on its own flat, rigid base into a shallow carrier with room around the roof. Follow the icing or kit instructions for setting and storage, do not stack the houses, and place the carrier on a level surface for the trip.